
Taucheo is an essential ingredient in much of East and South East Asia and comes in various forms, whole beans, in paste and also spicy.
Estimated reading time: 6 minutes
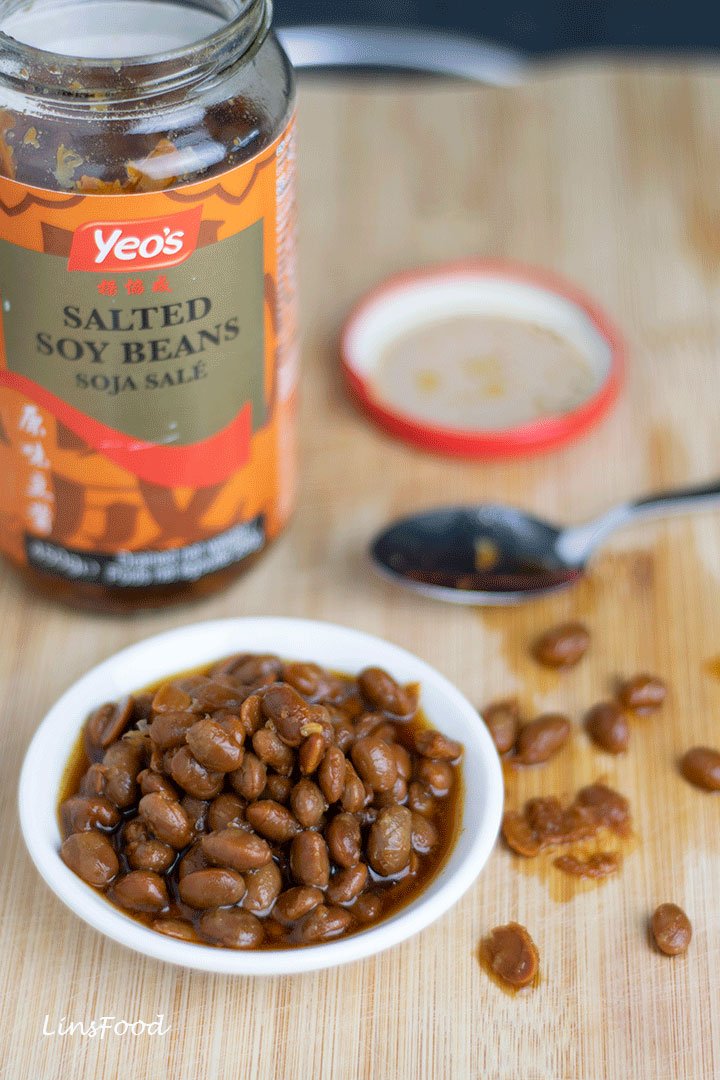
What is Taucheo?
Taucheo is salted, fermented soybeans, and used as an ingredient to add depth and an earthy saltiness to dishes.
How to pronounce It?
- Tau – the ow is the same vowel sound as in HOW
- ch – this is the ch sound in chair
- eo – this is the same vowel sound as in Rio (some people, especially Indonesians, would also make the sound oh (silent h)
It’s found in various guises in all over East and South east Asia.
- in China, where it originates, it’s called huáng jiàng
- in Indonesia, it is spelled tauco
- in Korean, the paste is called doenjang
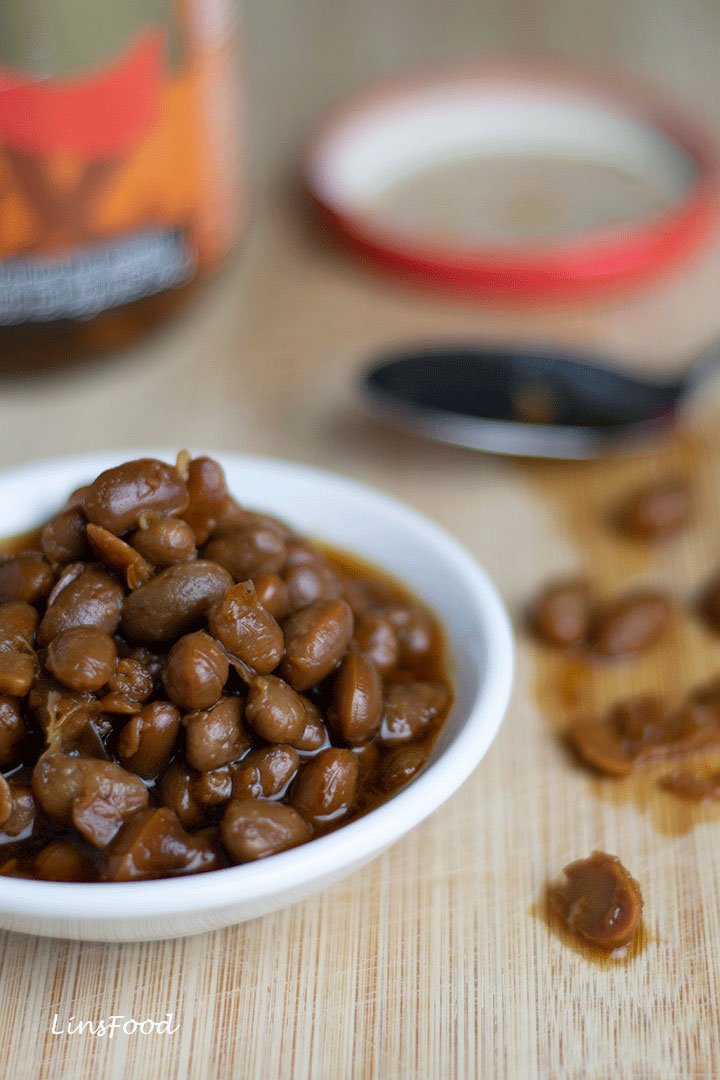
The taucheo that is commonly sold and used in Singapore and Malaysia varies slightly the Chinese and Korean ones, in that the soy beans are left whole.
To use, we simply mash them with a fork or add to the ingredients meant to be ground to a paste.
The Chinese and Korean ones however, are sold in paste form. I have a pretty big Korean supermarket within walking distance to me, and am pretty happy using the Korean version, when the little Chinese shop doesn’t have any in stock.
How is it Made?
To make taucheo, soybeans are soaked, then left to ferment over a period of time, resulting in a deep, earthy flavour that is essential in so many of our recipes.
In the Chinese version, the soybeans are mashed and also dried in the sun for a certain period of time.
It is pretty easy to make at home, if you are so inclined, and if you cannot get your hands on any. But online shopping makes so many exotic ingredients highly accessible, methinks, no?
Perhaps one day, I might do a recipe on homemade taucheo! Ta-da!👇
Homemade Taucheo Recipe
If you really, really can’t get it where you are, the good news is that it’s easily made at home. And soya beans (or soybeans) are easily found at health food stores, and most certainly online.
You only need about 10 days before you can start using it. But letting it ferment longer deepens the flavour. This is what we’ll be doing:
- Dry toast the soya beans (soybeans).
- Soak them overnight in water.
- Cook them until they are soft and mashable.
- Drain, reserving the cooking liquid.
- Wrap them up in muslin or cheesecloth and leave them to ferment for about 5 days somewhere warm or at least where it’s not cold, until they are covered in a light layer of white mould.
- Transfer them into a sterilized jar (I’m using a fermentation jar). Top with the soaking liquid, soy sauce and a tiny amount of sugar.
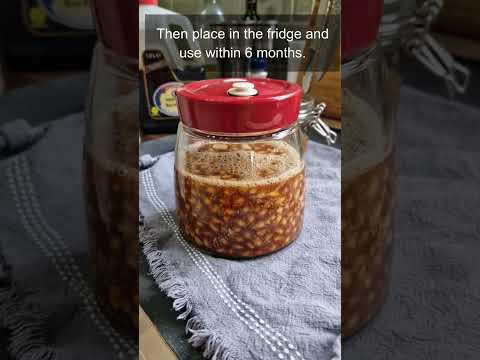
- Stir, cover and leave on your kitchen counter for 5 days to allow it to ferment further. At this stage, I transfer it to the fridge, where it will continue to ferment at a very slow rate. Use within 6 months.
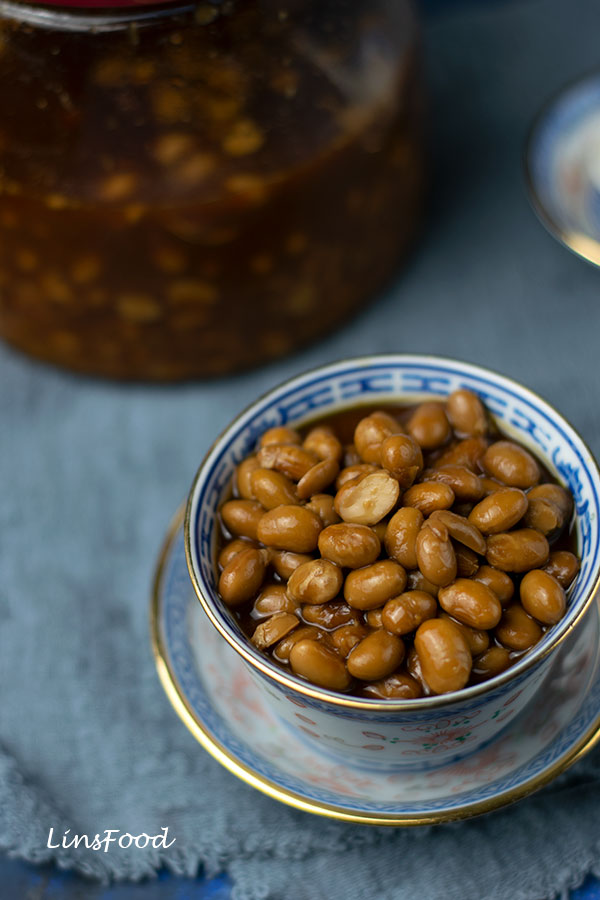
That’s it. As it continues to ferment, the beans will get a little darker, softer and break up slightly, as they do in shop bought jars. See the comparison picture below, of homemade taucheo and the shop bought one.

Temperature is Important
Your room temperature plays a big part in the fermentation process. Those of us living in colder areas may have to get creative or just be a little patient.
If you have a boiler, your airing cupboard is a great place for fermentation and bread proofing.
Turning your oven light on (but not the oven) is another great way to provide warmth for your fermenting products. But in these days of increasing energy bills, maybe that’s not the way we want to go, especially since we need to be doing this for a few days.
I made this latest batch in early October and while we’ve had a very mild autumn so far, the evenings have still been on the cooler side. So it took me 5 days for part 1, waiting for the white mould. I did place my beans in my airing cupboard. I don’t have a boiler but because of the odd hot water pipe, it’s mildly cosy. If there was a boiler in there, I reckon it would have only taken 2-3 days.
The second part of the process, I placed the taucheo on the kitchen counter for 5 days before transferring the jar to the fridge.
Substitute for Taucheo
The best substitute for taucheo is the darkest miso paste you can find. The deep red one, or a dark brown one is the best. It doesn’t matter too much if it’s rice based, you will still be getting that deep earthy and slightly tangy flavour.
Failing that, you could use hoisin sauce, but try and get the one with the least amount of added ingredients. Hoisin also tends to be on the sweet side, so go easy.
If your dish is going to be spicy, you could use a chilli bean paste, but I would check the amount of soybean to chilli first. As these tend to be heavy on the chilli, and light on the beans.
So, want to cook Singaporean and Malaysian with me? Go get a bottle of these salted soy beans. Because the iconic Singapore Chilli Crab requires it! And I shall be adding more recipes using taucheo as time goes by.
Recipes using Taucheo
Here are some recipes using taucheo on SMR. To find more, just do a search for the word, and they should all pop up.


If you found this article useful, drop me a comment and if you’re feeling like a star, that 5-star rating! Thank you!
And feel free to tag me on Instagram @azlinbloor with your recipes. If using one of mine, hashtag it #linsfood.
Lin xx
Homemade Taucheo Recipe (Salted, Fermented Soybeans)
Equipment
- 1 wok or frying pan I'm using my favourite Earth Pan
- 1 ladle
- 1 large glass bowl
- 1 large saucepan
- 1 heatproof colander
- 2 large muslins or cheesecloth
- 1 pot for fermenting. I'm using a clay pot, a saucepan is fine too
- 1 jar with 1 litre (4 cups) capacity
Ingredients
- 200 g soybeans
- 2 litres water you may need more
- 125 ml light soy sauce
- 1 Tbsp dark soy sauce
- ½ Tbsp salt
- 1 tsp white sugar
Instructions
Day 1
- Toast the soybeans in a wok or large frying pan over low heat for 5 minutes, stirring constantly. When done, tip them out into a large bowl.
- Top with 1 litre (4 cups) of the water, ensuring that the beans are covered by at least 2.5cm/an inch at the top. Use more water, if necessary. Leave to soak overnight.
Day 2
- Pour out the soaking liquid and fill with more room temperature water.Remove skin by rubbing the beans between your fingers or palms. This should be a relatively easy process. The loose skins will float to the top for easy removal.If you find this too much hard work, don't worry about it. Spend 2 minutes doing this, then leave the skin on the rest. It's not going to ruin your homemade taucheo.
- Rinse the soybeans, getting rid of any loose skin. Drain and tip into a large saucepan.Fill with the second litre of water, once again, ensuring that the beans are topped by at least 2.5 cm/1 inch of water.
- Bring to a boil, then reduce heat, half cover the saucepan and leave to simmer for 2½ hours. At the end of this time, the beans should be soft.To test for doneness, just take one bean, and mash between 2 teaspoons, it should quash down easily. You could do it with your fingers too, but the beans will be hot, so be careful.
- Drain the cooked soybeans, saving the cooking liquid.Then place the beans in a cheesecloth or muslin over a colander. Fold the cheesecloth over to cover. Now, place the whole thing into an opaque container. This could be a saucepan, a cake tin, whatever fits. Cover and leave for 3-5 days.The batch here was done in autumn in the UK. I had to go a full 5 days before I was happy with the amount of white mould. I could have gone another 2 days for a stronger flavour if I'd wanted.
- Pour the cooking liquid in a sterilised jar (how to sterilise in the article above). Leave to cool completely, then cover tightly with its lid and leave on your kitchen counter until needed. It won't go bad.
Day 5 Onwards
- After 3 days, check to see if you have a layer of sticky, white mould. If not, leave for another day. Keep doing this until you are happy with it, see video. It doesn't have to be the whole 5 days. Or, it might need 7 days, if it's cold where you are.See article above for warm places in the house.
- Transfer to a glass jar, fermentation jar or crockpot.Pour in the soy sauces, salt, sugar and the cooking liquid from earlier. Stir to mix. Make sure that the soybeans are fully submerged, with a clear layer of liquid above.Cover with the lid and leave on the kitchen counter for another 5 days for it to ferment a little more. This will once again, depend on the temperature where you are, see article above.If you are using a fermentation jar with a stopper, you can release the stopper daily, if you like.
- Then, place it in the fridge to prevent further fermentation. Technically, it will still keep on fermenting but very little, and very slowly. The flavour and colour will deepen with time.Your taucheo is ready to be used, as in many of the recipes on this site. Use within 6 months.
Video
Hi lin, I’m on a low sodium diet due to health issues and I’m wondering if I can use low sodium soy sauce and omit salt?
Hi Lisa, You could reduce/omit the salt or soy sauce but you will have to use a substitute for it, to ensure that your taucheo doesn’t spoil.
Here is a good article to read up more about how to ferment without or with less salt: https://joybileefarm.com/fermented-vegetables-no-salt/
I love Taucheo!! My mother used to stirfry veggies with it all the time and they were my favorite. Please, I would be so grateful if you could share your recipe for homemade Taucheo. I am the first generation born in America, and it is frightening at how quickly we are losing our cultural recipes, especially ones that involve fermenting. I would love to learn it and preserve this skill for the future generations, and to honor the memory of my mom who is not around to teach me these things anymore. Thank you for sharing your knowledge with us!
My pleasure, Jenny. And I am absolutely with you on the need to preserve our old recipes. Well, just ordered some soybeans from Amazon. I’ll get it started sometime this week. Will send you an email when it’s up on the blog.
Thank you so much for this information. I just made a dish (minced chicken&silk tofu) that required taucheo. As you recommended I replaced with a little miso (I only had white) and a litte chili bean sauce. My meal tasted FABULOUS! Thank you for you help….so much!
My pleasure. I’m so pleased to hear that you enjoyed the recipe, Afra.